
 German
 Slovak
 Romanian
 Lithuanian
 Latvian
 Hungarian
 French
 Finnish
 Dutch
Dutch Danish
 Czech
Czech Slovenian
 Italy
Italy Spain
Spain Portugal
Painting Interior Surfaces with Limewash Paint
- May 06, 2025
- 2 min read
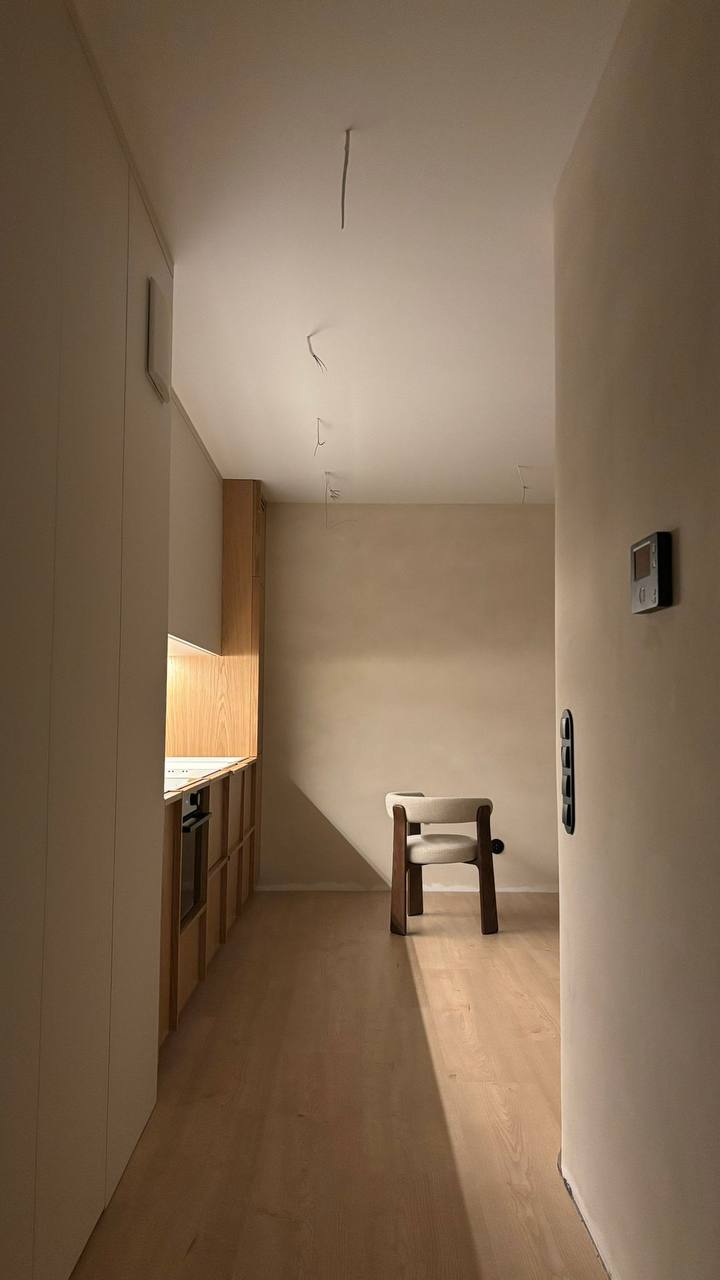
Wainscoting / Wood / Plywood or Particleboard
Wainscoting can look great when painted with limewash paint. Here’s everything you need to know:
How to Paint Wood with Limewash Paint
We often get asked whether our limewash paints can be used on wooden surfaces.
Limewash ZUBRA Colour Paint Can Be Used On:
Limewash ZUBRA paint offers a wide range of applications, not only on traditional plasters or walls but also on various wooden surfaces...
Wood That Does Not Require Sanding
Pine and Plywood: Pine and plywood are ideal candidates for limewash painting...
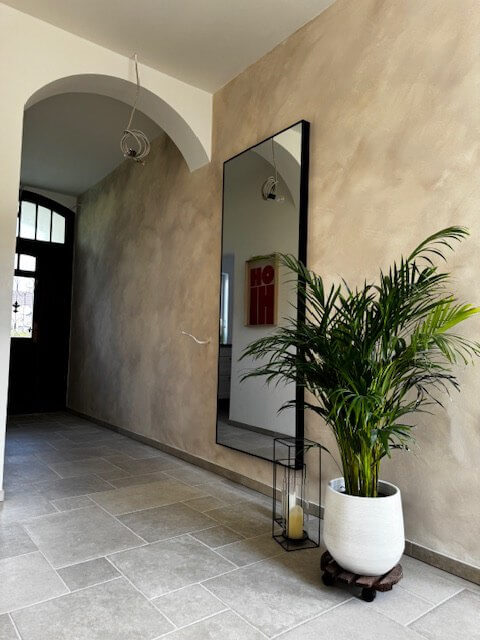
Wainscoting: Painting wainscoting with limewash paint can transform an interior...
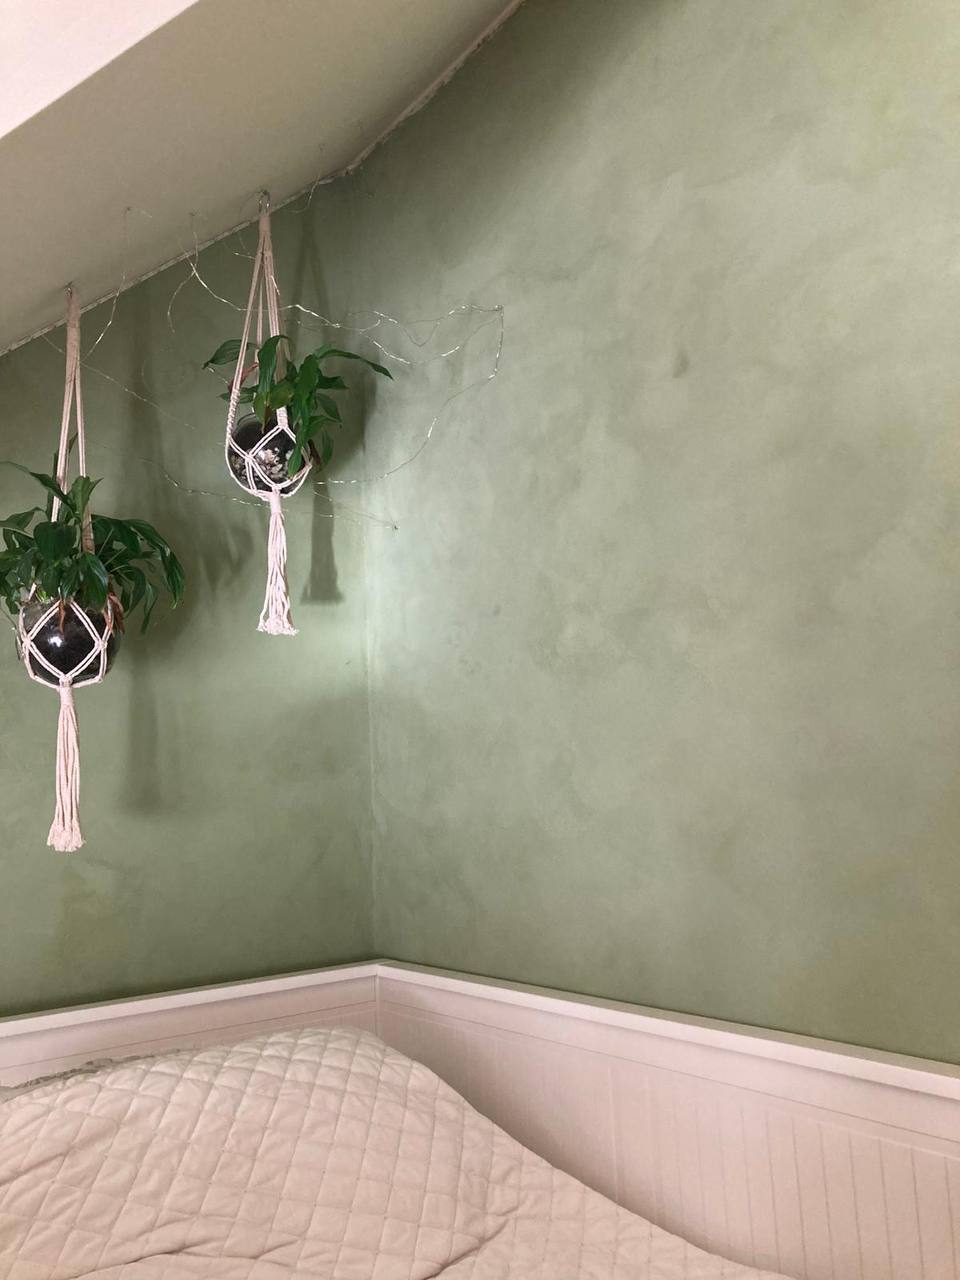
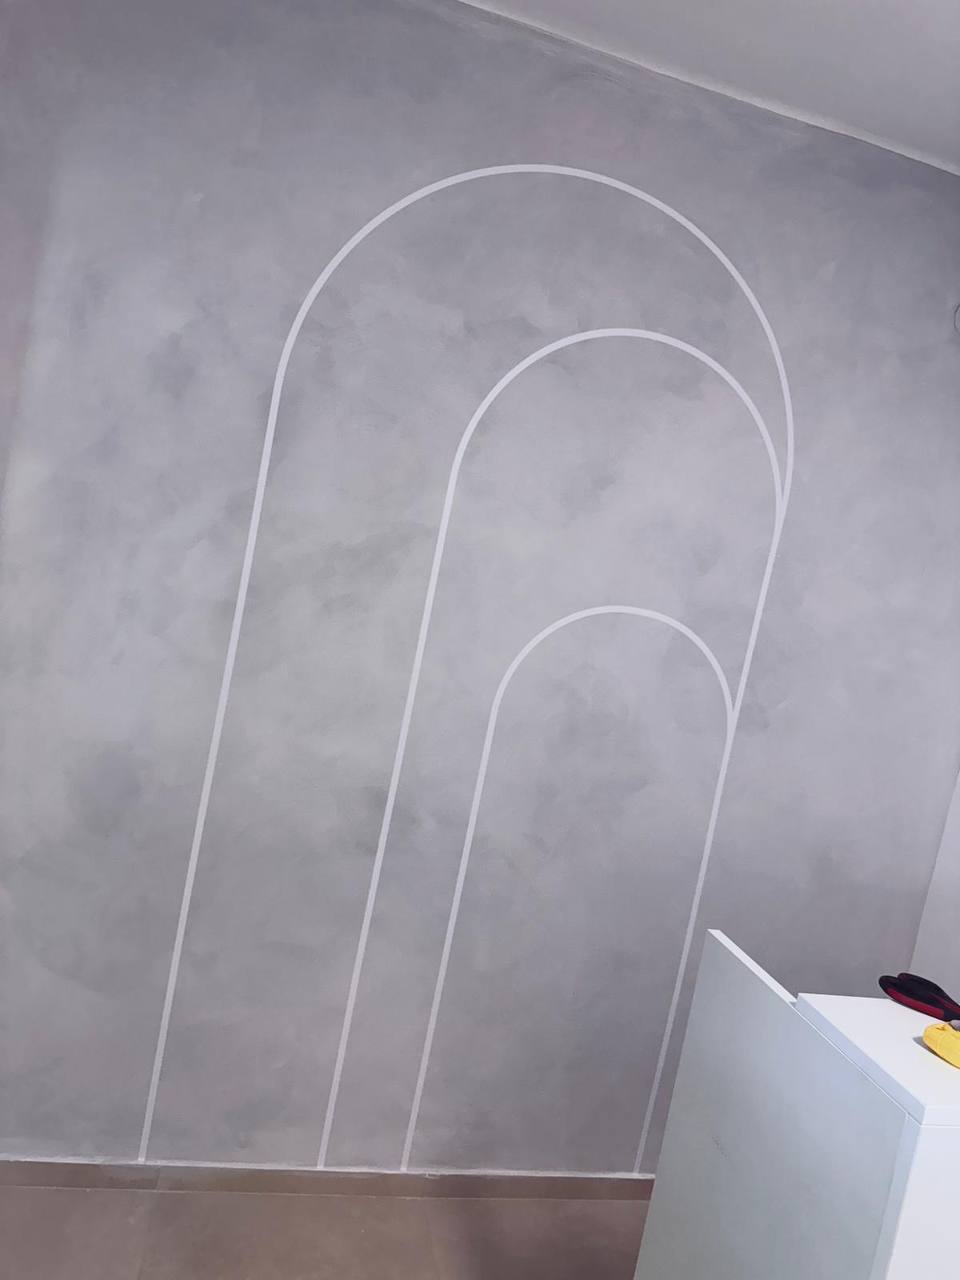
Finishing Effects
Limewash paint allows for various finishing effects...
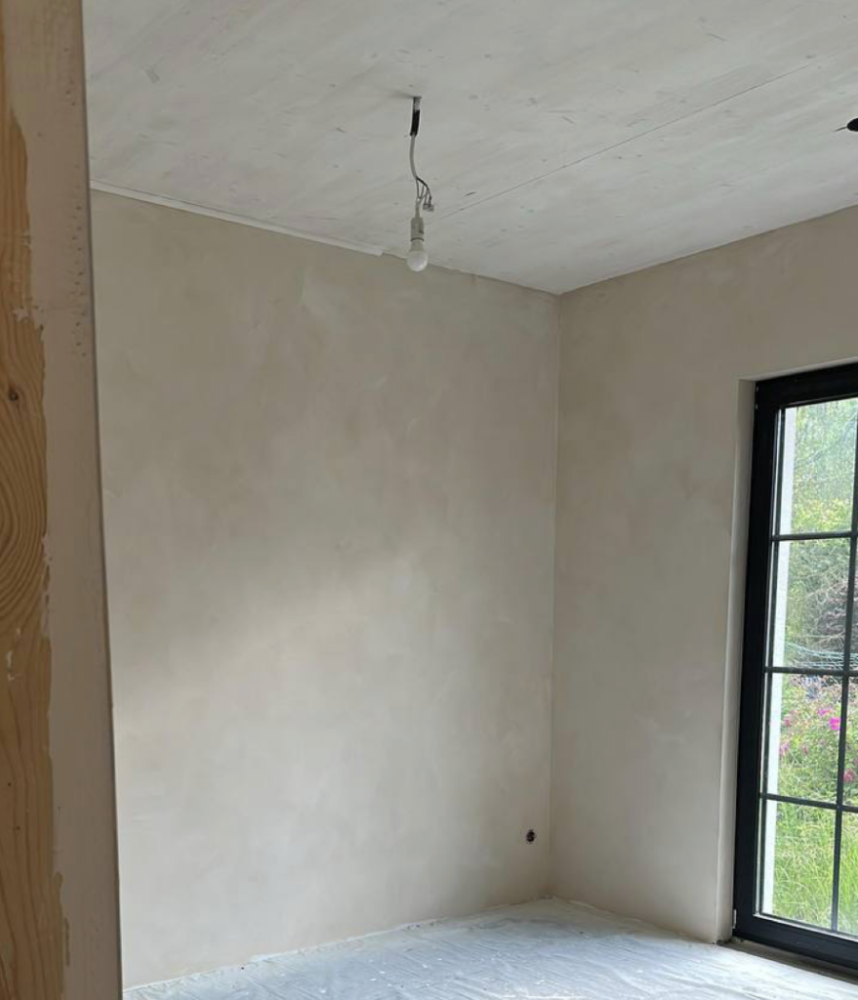
Application on Ceilings and Particleboard
Pine Ceilings: Limewash paint is also effective on wooden ceilings...
Particleboard: Applying limewash paint directly to particleboard...
Summary
Using limewash paint on wooden surfaces opens new design possibilities...
Limitations of Use
Limewash paint offers a unique matte finish and is particularly appreciated...
Limitations of Using Limewash Paint
- Architectural Elements: Limewash paints are not recommended for painting...
- Cleaning and Maintenance: The matte finish, although aesthetically pleasing...
- Tight Spaces: In tight spaces such as small homes...
Wood Recommendations
Soft Woods: Limewash paint works best on softwoods like pine or plywood...
Avoiding Fillers: During repairs and preparations of wooden surfaces...
High-Tannin Woods: For high-tannin woods like oak or teak...
Surface Preparation
Preparing wood before painting with ZUBRA limewash paint is crucial...
New, Unpainted Wood
Cleaning: Lightly dust the wood with a clean cloth...
Unpainted, Weathered Wood
Sanding: Use sandpaper to sand the wood surface...
Cleaning: After sanding, thoroughly dust the wood...
Previously Painted Wood
Sanding: Sand glossy surfaces to dull the existing finish...
Using a Primer
Application of ZUBRA Colour Prep Coat Primer: Regardless of the wood’s condition...
You can avoid a rough surface if the painter applies some water with a sponge...
Visible Wood Grain or Fully Covered?
If you want to highlight the natural wood grain using limewash paint...
Unpainted Wood
Direct Application of Limewash Paint: To emphasize the natural grain on unpainted wood...
Previously Painted Wood
Surface Preparation with ZUBRA Colour Prep Coat: For wood that has been previously painted...
Why Use ZUBRA Colour Prep Coat
- Improved Adhesion: Prep Coat ensures better adhesion of limewash paint...
- Uniform Finish: Using Prep Coat can help achieve a more uniform finish...
- Grain Protection: For unpainted wood where you want to highlight the grain...
Application Guide
Applying limewash paint requires precision and attention to detail...
Preparing the Paint
Mixing the Paint: Thoroughly mix the limewash paint before use...
Checking the Pigment: Ensure no unmixed pigment remains...
Applying the Paint
Paint Application: Dip the ZUBRA Natural Brush into the paint...
Painting Technique: Use loose, free strokes to evenly spread the paint...
Maintaining a “Wet Edge”: To avoid visible overlapping layers...
Avoiding Drips and Runs: Be careful not to leave drips or runs...

Share on Facebook

Share on X

Share on Pinterest
Comment(s)
Recent Posts
-
79. Limewash Paint, Poland
 August 16, 2025
 -
78. Limewash Paint, Poland
 August 16, 2025
 -
77. Limewash Paint, Poland
 August 16, 2025
 -
76. Limewash Paint, Hungury
 August 16, 2025
 -
75. Limewash Paint, Poland
 August 16, 2025