
 German
 Slovak
 Romanian
 Lithuanian
 Latvian
 Hungarian
 French
 Finnish
 Dutch
Dutch Danish
 Czech
Czech Slovenian
 Italy
Italy Spain
Spain Portugal
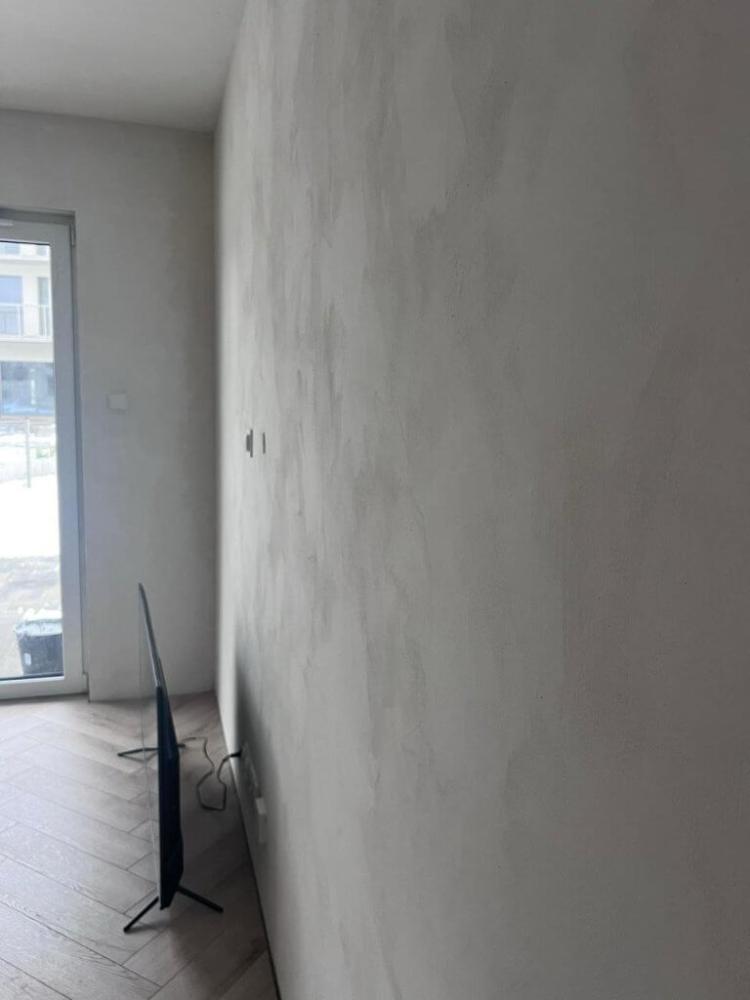
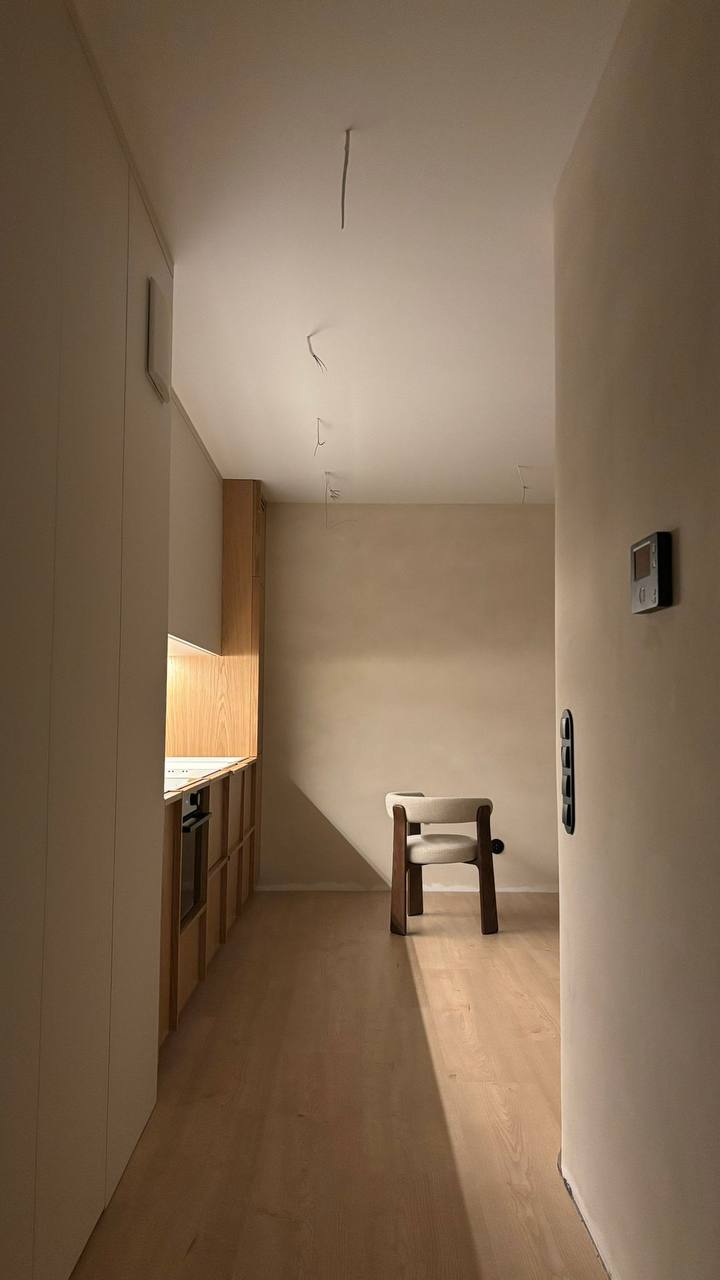
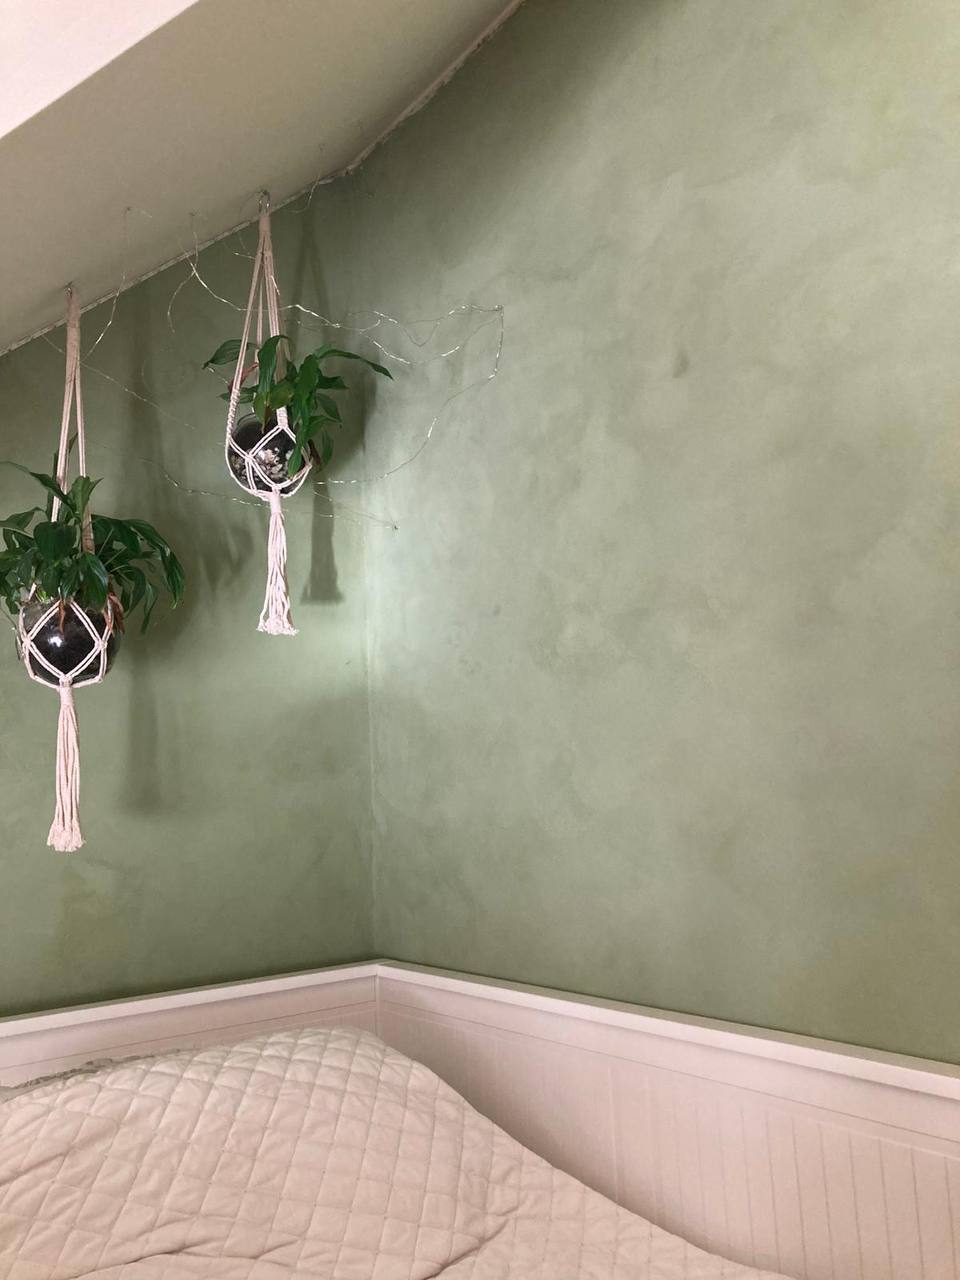
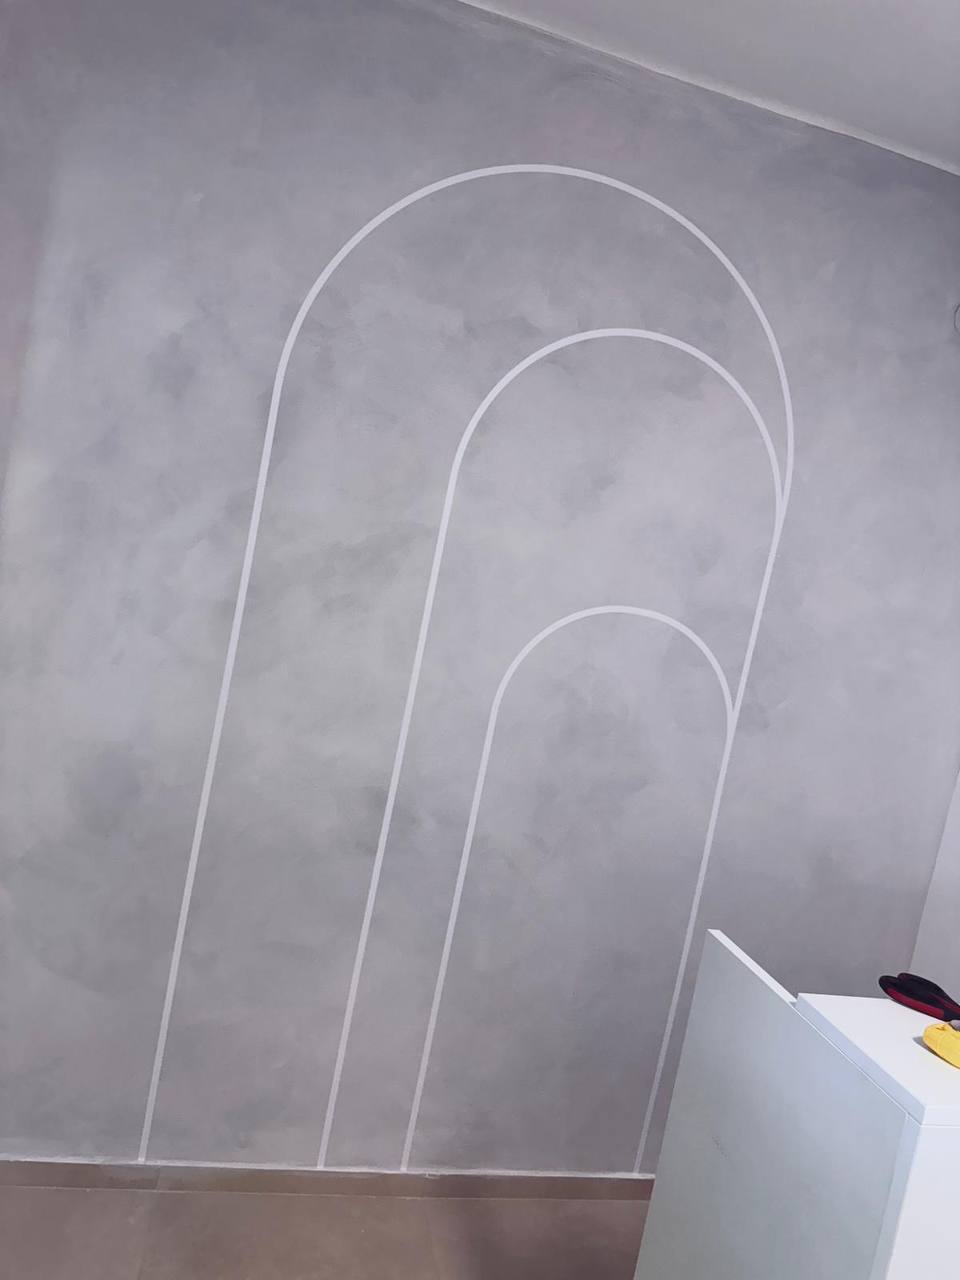
Interior surfaces painted with limewash paint
- May 06, 2025
- 4 min read
Panels / Wood / Plywood or MDF
Panels look great painted with limewash; here you’ll find everything you need to know.
How to Paint Wood with Limewash
Many ask if our limewash paints are suitable for wooden surfaces.
ZUBRA Colour Limewash paints are suitable for:
ZUBRA limewash paints have a wide range of uses—not only for traditional plasters or walls but also for various wooden surfaces. Thanks to their unique composition, these natural paints can be applied directly onto different types of wood, creating both opaque finishes and subtle wash effects that allow the natural wood grain to show through. Here are some tips for using limewash on wood surfaces.
Wood That Does Not Need Sanding
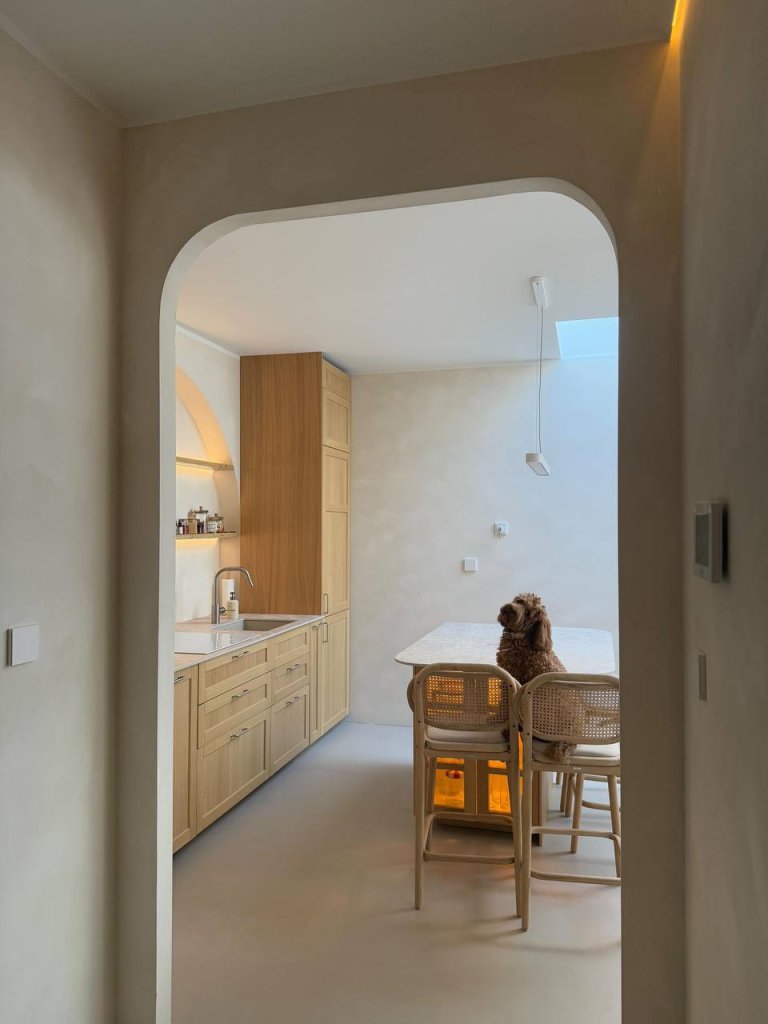
Pine and plywood: Pine and plywood are great candidates for limewash because they naturally contain less tannin compared to woods like oak or teak. Limewash can be applied directly to these materials, highlighting the natural beauty of the wood.
Panels: Painting panels with limewash can transform interiors by adding lightness and freshness. Direct application allows the wood grain to remain visible, adding character and uniqueness to the space.
Finishing Effects
Opaque finish vs. wash effect: Limewash allows for various finishing effects. One or two layers provide an opaque coating that completely covers the surface. Alternatively, diluted paint creates a wash effect that shows the wood grain while preserving subtle color and texture.
Application on Ceilings and MDF
Pine ceilings: Limewash works wonderfully on wooden ceilings, giving them a sense of lightness and spaciousness. Pine ceilings get a unique effect blending tradition and modernity.
MDF: Limewash can be applied directly onto MDF without sanding, creating an interesting, slightly rough finish. For surfaces like ceilings, where precise finishing is not critical, this can be an attractive and economical option.
Summary
Using limewash on wooden surfaces opens new design possibilities and allows experimenting with finishing effects. Due to its flexibility and environmental friendliness, limewash is a great choice for those seeking natural and aesthetic interior solutions. It is always recommended to do tests on small areas to ensure the final effect meets your expectations.
Usage Limitations
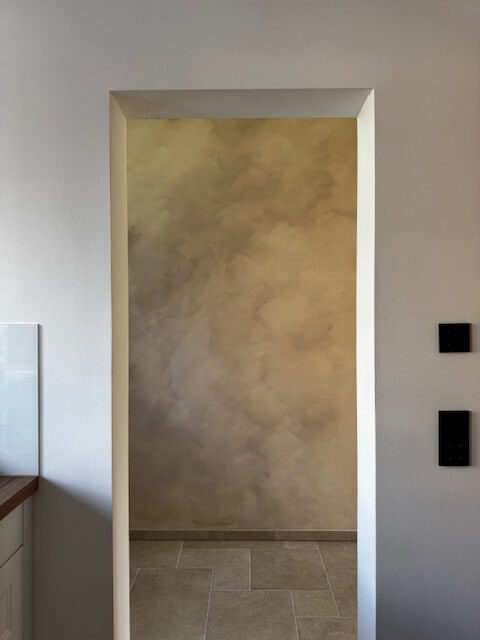
Limewash paints feature a unique matte finish and are valued for their naturalness, aesthetic effect, and breathability on various surfaces. However, due to specific properties and limited resistance to abrasion and cleaning, there are some usage recommendations.
Limitations for Limewash Use
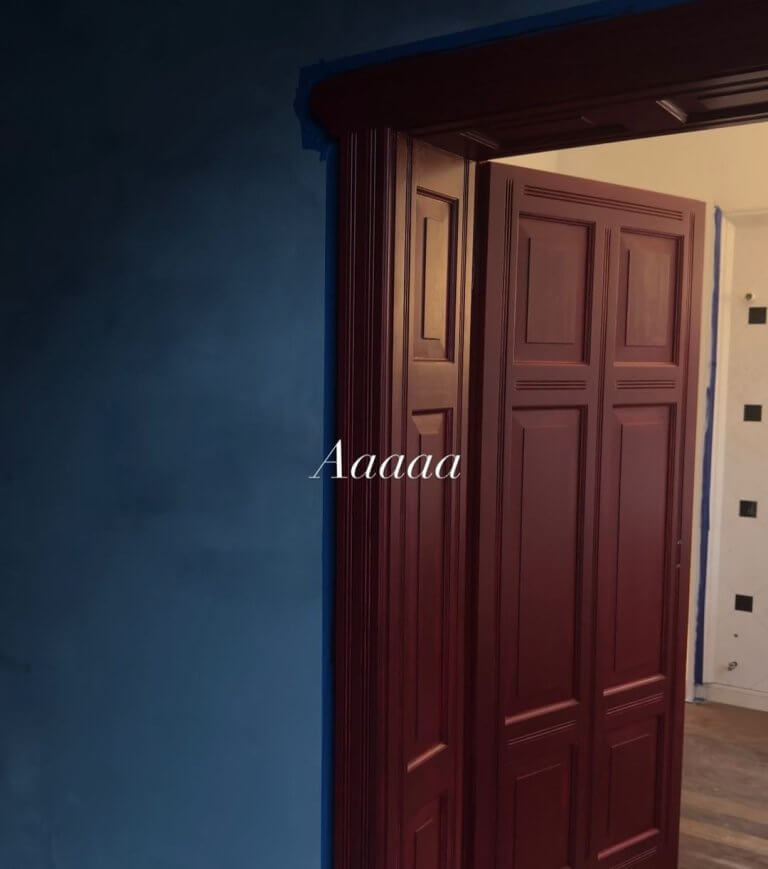
- Architectural elements: Limewash is not recommended for architectural elements subject to constant physical contact, such as door frames, doors, or baseboards. These surfaces are often touched and show wear quickly.
- Cleaning and maintenance: While aesthetically pleasing, the matte surface is not as easy to clean as glossy painted surfaces. Therefore, areas requiring frequent maintenance or prone to getting dirty quickly are not ideal for limewash.
- Small spaces: In small spaces like tiny homes, campers, or boats, caution is advised when using limewash, especially on walls and surfaces frequently touched. Ceilings, where contact is minimal, may be suitable for limewash.
Recommendations for Wood
- Softwoods: Limewash is best suited for softwoods such as pine or plywood, especially if untreated. Such wood bonds well with the paint, ensuring better durability.
- Avoid fillers: When preparing wooden surfaces, avoid fillers that may discolor after painting. It’s better to use wooden dowels for repairing defects.
- High tannin woods: Woods high in tannins, like oak or teak, risk tannins bleeding through the paint and affecting color. Always test in small areas to check paint reaction.
Preparation
Proper wood preparation before painting with ZUBRA limewash is very important to ensure durability and aesthetic results. Preparation depends on the condition of the wood—whether new untreated elements, older untreated wood, or previously painted surfaces. Here’s the best way to prepare each type:
New, Untreated Wood
Cleaning: Gently wipe the wood with a clean cloth to remove dust and small debris. This ensures a clean base for paint and improves adhesion.
Older, Untreated Wood
Sanding: Use sandpaper to remove surface irregularities. Sanding helps remove dirt and old layers that may be weathered.
Cleaning: After sanding, carefully wipe the surface with a clean cloth to remove dust and contaminants.
Previously Painted Wood
Sanding: Sand glossy surfaces to reduce shine. This improves adhesion of new paint.
Primer
Using ZUBRA Colour Prep Coat: Regardless of wood condition, it’s recommended to start with ZUBRA Colour Prep Coat primer. This primer improves limewash adhesion and helps even absorption, especially important for porous or unevenly absorbent surfaces.
To avoid a rough surface, it is advised to moisten the surface with a wet sponge before the first paint layer. This raises short wood fibers. After drying, sanding removes these fibers, ensuring a smooth finish during painting.

Share on Facebook

Share on X

Share on Pinterest
Comment(s)
Recent Posts
-
79. Limewash Paint, Poland
 August 16, 2025
 -
78. Limewash Paint, Poland
 August 16, 2025
 -
77. Limewash Paint, Poland
 August 16, 2025
 -
76. Limewash Paint, Hungury
 August 16, 2025
 -
75. Limewash Paint, Poland
 August 16, 2025