Interior Surfaces with Limewash Paint
- May 06, 2025
- 8 min read

Paneling / Wood / Plywood or Chipboard
Paneling can look great painted with limewash; we’ve gathered everything you need to know.
How to Paint Wood with Limewash Paint
Many of you ask if our limewash paints can be used on wooden surfaces.
ZUBRA Colour Limewash Paint can be used for:
ZUBRA limewash paint offers wide application possibilities, not only on traditional plasters or walls but also on various wooden surfaces. Thanks to its unique formula, this natural paint can be applied directly to many types of wood, creating both opaque finishes and subtle washed effects that expose the natural wood grain. Here are some tips on how to use limewash paint on wooden surfaces.
Wood that Does Not Require Sanding
Pine and Plywood: Pine and plywood are ideal candidates for limewash paint because they naturally contain lower amounts of tannins compared to woods like new oak or teak. Limewash paint can be applied directly to these materials, allowing for a finish that highlights the natural beauty of the wood.
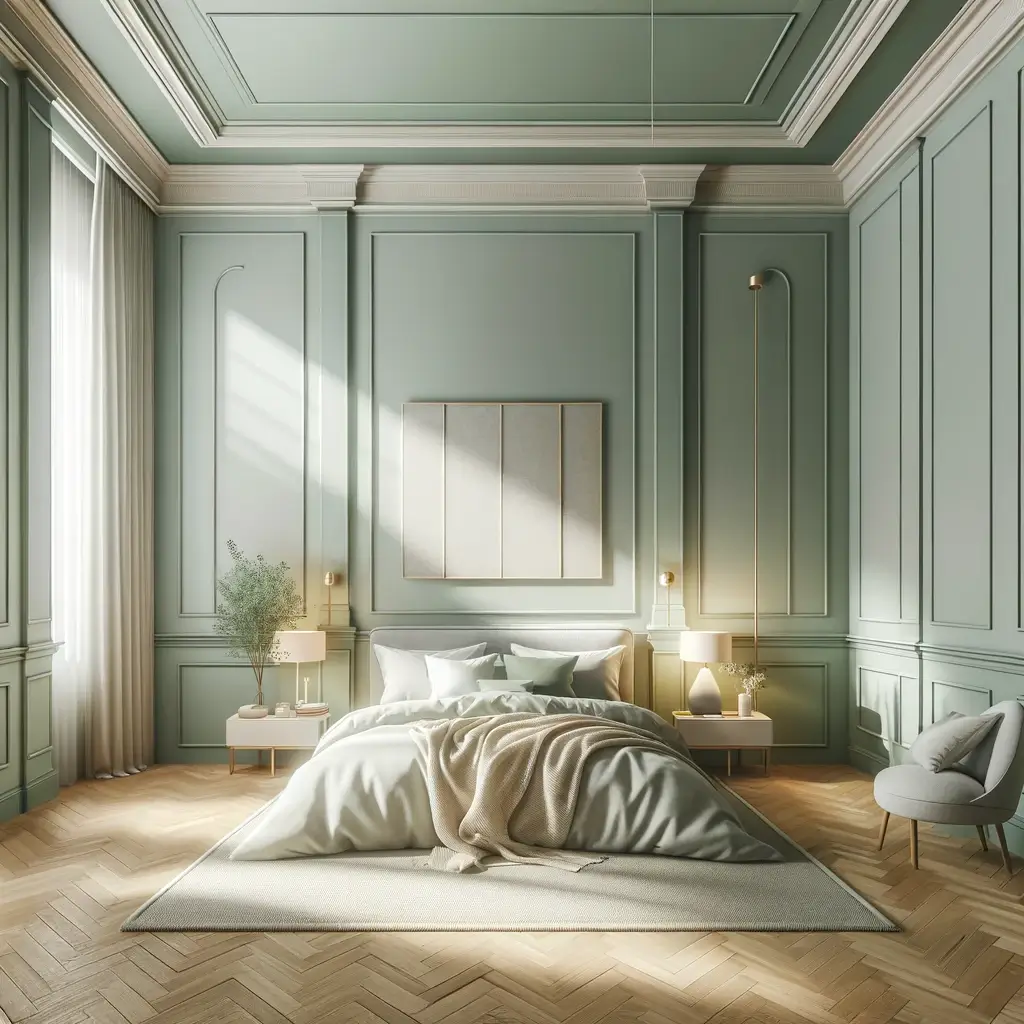
Paneling: Painting paneling with limewash can transform an interior, giving it lightness and freshness. Direct application of the paint to the paneling allows for the visibility of the grain, adding character and uniqueness to the rooms.
Finishing Effects
Opaque Finish vs. Wash: Limewash paint allows for various finishing effects. Applying one or two coats can achieve an opaque finish that completely covers the surface. Alternatively, diluting the paint can create a wash effect that allows the wood grain to show through while maintaining a subtle color and texture.
Application on Ceilings and Chipboard
Pine Ceilings: Limewash paint is also effective on wooden ceilings, where it can add lightness and open up the space. Using it on pine ceilings allows for a unique effect that combines tradition with modernity.
Chipboard: Applying limewash paint directly to chipboard, even without sanding, is possible and can create an interesting, though slightly rough finish. For surfaces where precision is not crucial, such as ceilings, this can be an attractive and economical option.
Summary
Using limewash paint on wooden surfaces opens new design possibilities, allowing for experimentation with finishes and effects. Thanks to its flexibility and environmental friendliness, limewash paint is an excellent choice for those looking for natural and aesthetic solutions for interior decoration. Always conduct test applications on small sections to ensure the final effect meets your expectations.
Usage Limitations
Limewash paint offers a unique matte finish and is particularly appreciated for its natural, aesthetic effect and ability to “breathe” when applied to various surfaces. However, due to its specific properties and limitations in abrasion resistance and cleaning, there are some recommendations for its use.
Limitations of Limewash Paint Usage
- Architectural Elements: Limewash paint is not recommended for painting architectural elements that undergo regular handling or contact, such as door frames, doors, or baseboards. These surfaces are often subject to scuffs and may quickly show signs of wear.
- Cleaning and Maintenance: The matte finish, though aesthetically pleasing, does not offer the same ease of cleaning as glossy painted surfaces. Therefore, areas that require regular cleaning or are prone to dirt may not be ideal for limewash paint.
- Tight Spaces: In tight spaces such as small homes, caravans, or boats, caution is advised when using limewash paint, especially on walls and other surfaces with which users frequently come into contact. Limewash paint may be suitable for ceilings, where contact is minimal.
Recommendations for Wood
- Soft Woods: Limewash paint works best on soft woods like pine or plywood, especially when they are unpainted. Such wood provides good adhesion for the paint, which translates to better durability of the finish.
- Avoiding Fillers: When repairing and preparing wooden surfaces, it is recommended to avoid using fillers that may differ in shade after painting. Using wooden plugs for fixing imperfections is a better solution.
- High Tannin Woods: For woods containing high tannin levels, such as oak or teak, there is a risk that tannins may “bleed” through the paint, affecting the color of the finish. Always conduct tests on small sections of wood to check the paint’s reaction.
Preparation
Preparing wood before painting with ZUBRA limewash paint is crucial to ensure durability and an aesthetic finish. Proper preparation of wooden surfaces depends on their current state – whether they are new, unpainted elements, aged and unpainted wood, or previously painted surfaces. Here’s how to best prepare each type of wood:
New, Unpainted Wood
Cleaning: Lightly wipe the wood with a clean cloth to remove any dust or small debris. This will ensure a clean base for the paint and improve its adhesion.
Aged, Unpainted Wood
Sanding: Use sandpaper to sand the wood surface. Sanding aims to smooth the surface and remove accumulated dirt and old layers of wood that may have degraded due to weather conditions.
Cleaning: After sanding, thoroughly wipe the wood with a clean cloth to remove sanding dust and other contaminants.
Previously Painted Wood
Sanding: Sand the glossy surfaces to dull the existing finish. This will allow the new paint to adhere better to the surface.
Using a Primer
Applying ZUBRA Colour Prep Coat: Regardless of the wood’s condition, applying ZUBRA Colour Prep Coat primer is recommended as the first step in painting. This primer not only improves the adhesion of limewash paint but also helps even out paint absorption, which is particularly important for porous or unevenly absorbing surfaces.
A rough surface can be avoided if the painter applies some water with a sponge on the surface before the first layer of paint. This allows the short fibers to absorb moisture and rise. When the surface dries, light sanding will remove these fibers. The surface will then remain smooth during paint application.

Visible Wood Grain or Fully Covered?
If you want to highlight the natural grain of the wood with limewash paint, proper surface preparation is crucial. Here’s how to approach painting depending on whether you’re working with unpainted or previously painted wood:
Unpainted Wood
Direct Application of Limewash Paint: To emphasize the natural grain on unpainted wood, you can apply limewash paint directly without using the Prep Coat primer. Direct application will allow better visibility of the grain through the paint layer, resulting in a more natural and subtle effect. However, proper surface preparation, such as light cleaning and dusting, is still recommended.
Previously Painted Wood
Preparing the Surface with ZUBRA Colour Prep Coat: For wood that has been previously painted and not completely stripped of old paint layers, using the ZUBRA Colour Prep Coat primer is recommended. Prep Coat will help provide a uniform base for applying limewash paint, which is particularly important to avoid uneven appearance due to differences in absorption between old paint layers and exposed wood.
Why Use ZUBRA Colour Prep Coat?
- Improved Adhesion: Prep Coat provides better adhesion for limewash paint, which is crucial for the durability and aesthetics of the final finish.
- Uniform Finish: Using Prep Coat can help achieve a more uniform finish, especially on surfaces with varying absorption levels.
- Grain Protection: For unpainted wood where you want to highlight the grain, skipping Prep Coat can be a conscious choice. However, remember that any decision regarding surface preparation should be preceded by a test on a small area to ensure the final effect meets expectations.
For additional information about ZUBRA Colour Prep Coat and its application, it is recommended to review the available materials and manufacturer’s instructions. This approach allows for a thorough understanding of the product and its properties, essential for achieving the best results when painting with limewash paint.
Application Guide
Preparing the Paint
- Mixing the Paint: Thoroughly mix the limewash paint before use to ensure all ingredients are evenly distributed. Pouring the paint into a clean container or bucket can make application easier.
- Checking the Pigment: Ensure no unmixed pigment remains at the bottom of the bucket. Continue mixing the paint regularly during painting to maintain a uniform color.
Applying the Paint
- Applying the Paint: Dip the ZUBRA Natural Brush into the paint, then gently shake off the excess to avoid dripping. The brush should be well-saturated but not overloaded with paint.
- Painting Technique: Use loose, sweeping strokes to distribute the paint evenly over the surface. Try to stretch the paint as far as possible to achieve a uniform finish.
- Maintaining a “Wet Edge”: To avoid visible overlapping layers, always try to maintain a “wet edge.” This means painting successive strips of paint before the previous strip has dried.
- Avoiding Drips and Runs: Be careful not to leave drips or runs. Evenly distributing the paint is key to an aesthetic finish.
Final Effect
- Transparency and Color Change: Don’t worry if the paint appears darker and transparent immediately after application. As it dries, the paint will lighten to the selected color and become opaque.
- Avoiding Excessive Paint Application: It is essential not to try to “fix” transparency by over-applying the paint. Too thick a layer of paint can not only look bad but also affect adhesion and durability of the finish.
Painting Limewash on Plywood or Chipboard
Safety
Before starting to paint, it is essential to ensure proper safety measures. Paint splashes can cause skin and eye irritation, so wearing appropriate personal protection such as gloves, safety glasses, and a face mask is recommended.
Tips
- Color Testing: Before painting larger surfaces, it is recommended to purchase a ZUBRA paint sampler to ensure the chosen color meets your expectations and fits the project.
- Tool Selection: For the best results, use the ZUBRA Natural Brush, which has bristles specially selected for efficient and even paint distribution.
Drying Time
Limewash paint dries relatively quickly to the touch, but the full curing process takes about two weeks. To ensure optimal drying conditions, allow at least one hour for each coat to dry, with more time required in cooler weather.
Cleaning
After finishing painting, brushes wash out easily with minimal water, which is environmentally friendly. Use ZUBRA Colour Brush Cleaner for brush care and to extend their lifespan.
Wood Finishing with Limewash
An additional topcoat is not required if you prefer to maintain a matte finish and the option to refresh the surface easily in the future. However, if you are considering using an invisible sealer, conducting tests on a small area is essential to ensure it does not change the appearance of the color.
Painting Plywood or Chipboard
Limewash paints can be used on plywood or chipboard, adding a characteristic matte look to them. Surface preparation is similar to other types of wood: ensure they are clean, dry, and free from contaminants. Direct application of limewash paint to these materials allows for a unique aesthetic effect, especially when you want to highlight the natural wood texture.
Remember that thorough preparation and following the manufacturer’s recommendations are crucial to achieving the best results when painting with limewash paint.

Share on Facebook

Share on X

Share on Pinterest
Comment(s)
Recent Posts
-
Freestanding Bathtub in the Middle of the Room: How to Make It Work
 May 9, 2025
 -
How to Choose the Perfect Exterior Finish for Your Home
 May 9, 2025
 -
Classic Interior with Modern Accents: A Perfect Fusion
 May 9, 2025
 -
How to Create a Loft-Style Ambiance in Your Apartment
 May 9, 2025
 -
How and Why to Use Concrete in Your Bedroom Interior
 May 9, 2025