How to Ensure the Quality of Plastering Work: A Guide for Homeowners
- May 08, 2025
- 5 min read

As your renovation project nears completion, the last thing you want is to discover defects that require redoing the plastering. Such issues can delay your move-in date and increase costs. To avoid these pitfalls, it’s crucial to check the quality of the plastering work as soon as it’s completed. Here’s a guide on how to do that effectively.
1. Wall Alignment: The Foundation of a Smooth Finish
The most critical aspect of plastering is wall alignment. In residential buildings, walls are often uneven and require vertical alignment. Poorly aligned walls can lead to issues like gaps between door frames and walls, uneven tile lines, and difficulty placing furniture flush against the wall.
There are two main types of plastering:
- Plastering with Beacons: This method involves setting vertical guides (beacons) on the wall, ensuring the plaster is applied evenly. It’s the preferred method for achieving a straight, vertical surface.
- Visual Plastering: Used mainly for technical spaces, this method focuses on covering visible imperfections without guaranteeing vertical alignment. It’s less expensive but only suitable for non-essential areas.
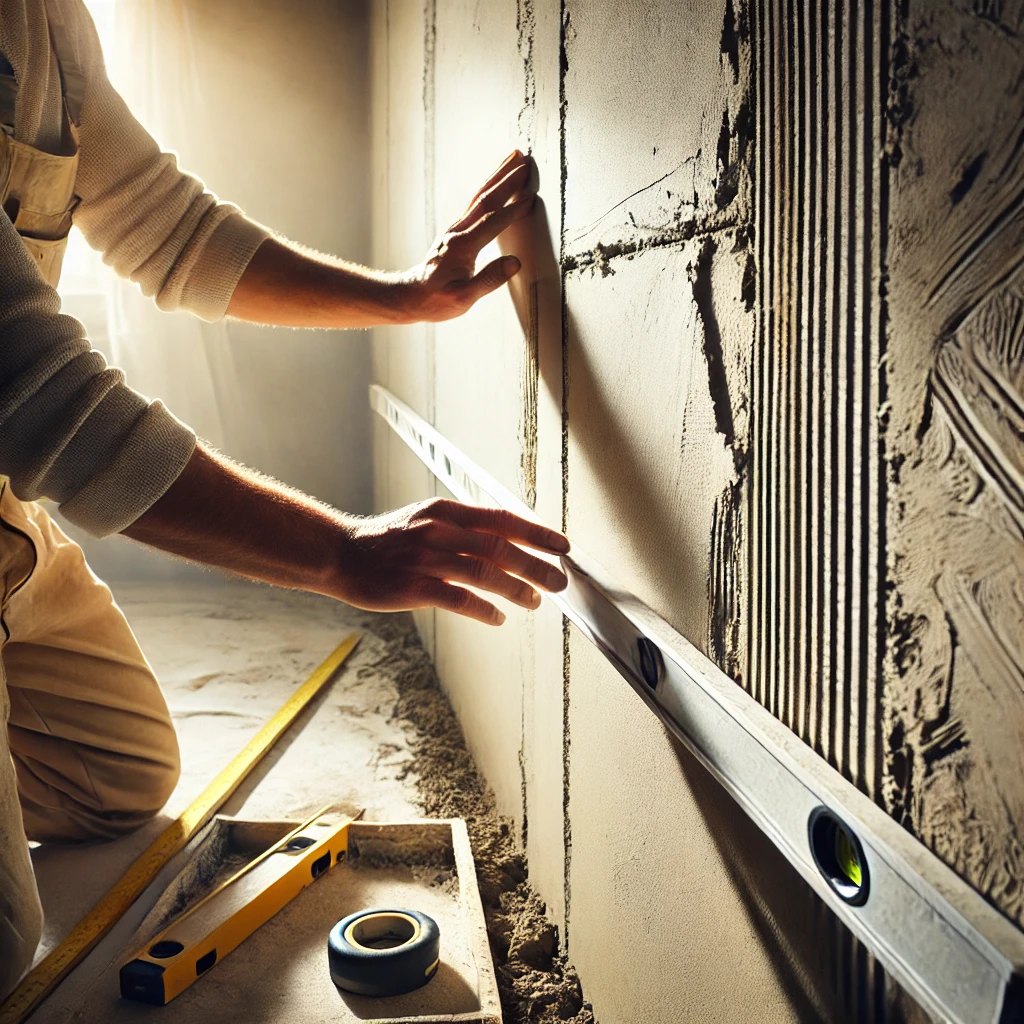
How to Check: Use a two-meter level to check vertical alignment every two meters across the wall. The deviation should not exceed 1mm per meter, with a maximum of 5mm for the entire wall.
2. Perfecting Corners: Ensuring 90-Degree Angles
For furniture to fit neatly into corners, the angle between walls should be exactly 90 degrees. This is particularly important for built-in cabinets, kitchen units, and bathrooms, where fixtures are often placed in corners.
How to Check: Measure the diagonals of the room using a tape measure. If the diagonals are equal, the walls form a perfect rectangle. For more accuracy, use a large carpenter’s square to check the angle, especially from floor to ceiling.
3. Ensuring Wall Parallelism
Parallel walls are essential for a clean, professional finish, especially when laying floorboards or tiles. Uneven walls can lead to visibly crooked lines, making the space look unpolished.
How to Check: Measure the distance between parallel walls at several points along their length. The measurements should be consistent. If there’s a significant discrepancy, corrective measures like using drywall or rebuilding the wall may be necessary.
4. Door and Window Openings: Precision Matters
Straight, even openings for doors and windows are crucial for a clean, professional appearance. Uneven openings can cause problems with door and window installation and affect the overall look of the room.
How to Check: Use a level to check that the sides and tops of door and window openings are perfectly vertical and horizontal. The deviation should not exceed 1mm per meter, and the width of the openings should not vary by more than 2mm.
5. Surface Quality: The Final Touch
A smooth, even surface is essential, especially if you plan to paint the walls or apply thin wallpaper. Imperfections can become glaringly obvious after the final finish is applied.
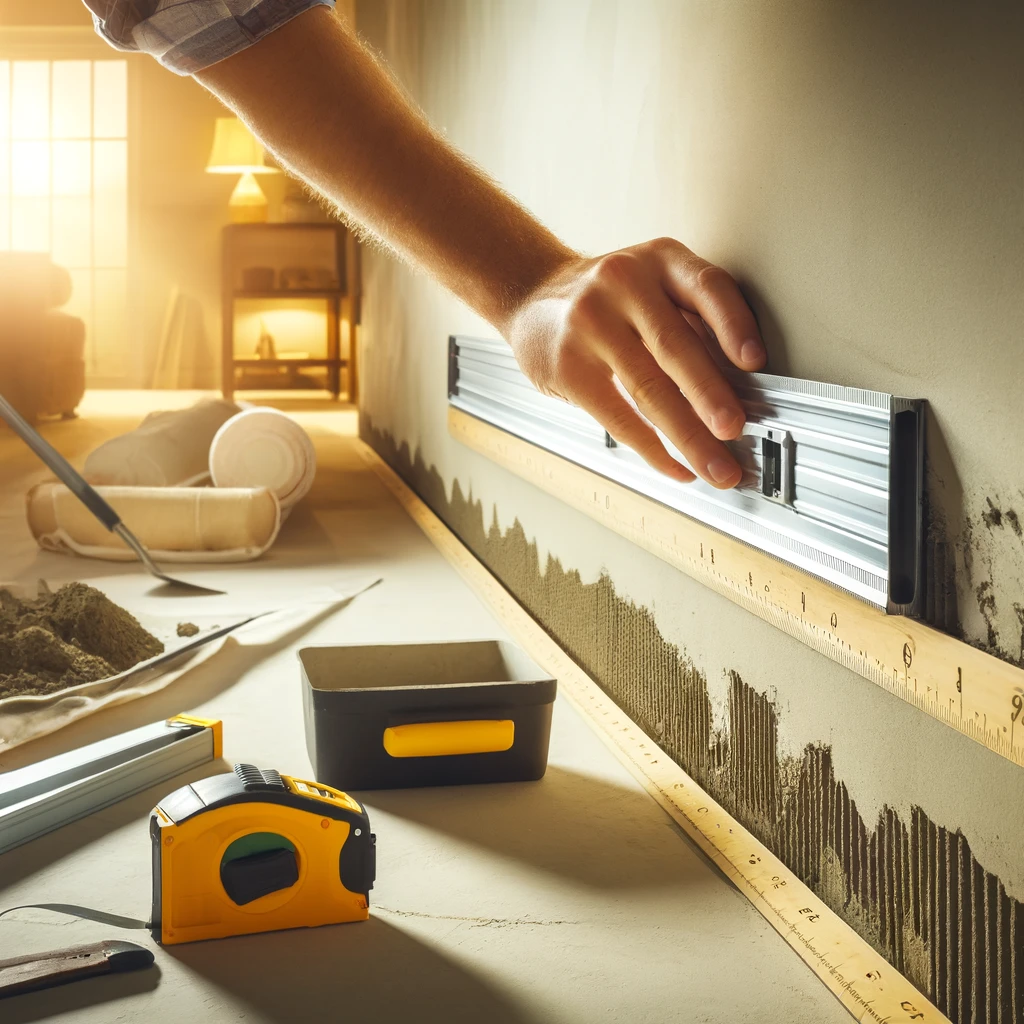
How to Check: Use a two-meter straight edge to check the flatness of the walls. Place the edge vertically and horizontally on the wall to look for gaps. Any gaps over 1mm indicate the need for further smoothing.
6. Ceiling Alignment: Keeping it Smooth
An uneven ceiling can be particularly noticeable, especially in rooms where light and dark colors meet. A perfectly flat ceiling is crucial for a polished look.
How to Check: Use a long straight edge or trapezoidal rule to check the ceiling’s flatness, focusing on areas where it meets the walls and above windows.
Conclusion: Ensuring Quality from Start to Finish
By thoroughly checking the plastering work as described above, you can catch and correct any issues early, ensuring a high-quality finish that lasts. Remember, the sooner you identify problems, the easier and less expensive they are to fix.
Need expert advice or help with your renovation? Contact ZUBRA COLORS for a free consultation. Our professionals can guide you through every step of your project, ensuring top-quality results. Reach out via WhatsApp to get started today!
7. Inspecting for Cold Bridges: Ensuring Proper Insulation
Cold bridges, or thermal bridges, occur when an element of the structure has significantly lower thermal resistance, allowing heat to escape more easily. These can cause condensation, leading to dampness and eventually mold growth, especially around windows and doors.
How to Check: Before the final plaster layer is applied, ensure that all gaps around windows and doors are properly insulated with foam or other suitable materials. After plastering, inspect for any signs of moisture, such as dark spots or damp patches, which could indicate a cold bridge. If you find any, it may be necessary to remove the plaster and re-insulate the area properly.
8. Surface Finish and Detailing: Achieving a Flawless Look
Even if the walls are perfectly flat and aligned, poor attention to detail can ruin the final appearance. Small imperfections around sockets, light switches, or in corners can be very noticeable, especially under certain lighting conditions.
How to Check: Shine a light parallel to the wall to highlight any surface imperfections that might not be visible in normal light. Pay special attention to areas around electrical outlets, corners, and where the wall meets the ceiling or floor. Look for any rough patches, bumps, or uneven texture. These can be fixed with additional sanding or a thin layer of finishing plaster.
9. Checking the Plaster’s Durability: Avoiding Future Issues
Plaster that isn’t applied correctly can lead to issues like cracking, chipping, or peeling over time. Ensuring that the plaster adheres properly and is applied at the correct thickness is crucial for long-term durability.
How to Check: Lightly tap on various sections of the wall with your knuckles. A solid, consistent sound indicates that the plaster is well-bonded to the wall. Hollow sounds can indicate that the plaster hasn’t adhered properly and may crack or fall off in the future. Check for any visible cracks, especially around corners and edges, as these can be early indicators of problems.
10. Final Walkthrough: Ensuring Everything Meets Your Standards
Once the initial inspections are done, it’s time for a final walkthrough. This is your last chance to catch any issues before moving on to the next stage of your renovation.
How to Check: Walk through the entire space, checking each wall, corner, and ceiling. Use a checklist to ensure you don’t miss anything. Pay special attention to areas that have previously required corrections. Ensure that all corrections have been made to your satisfaction, and the final finish meets your expectations.
Conclusion: Ensuring a Perfect Finish
By following these steps, you can ensure that the plastering work in your home is of the highest quality, preventing issues that could arise later. Taking the time to inspect the work thoroughly now will save you time, money, and frustration in the future.
Looking for professional help with your renovation? Contact ZUBRA COLORS for expert advice and top-notch service. Our team is here to help you achieve the perfect finish for your home. Reach out via WhatsApp for a free consultation and let us assist you in creating a space you’ll love.

Share on Facebook

Share on X

Share on Pinterest
Comment(s)
Recent Posts
-
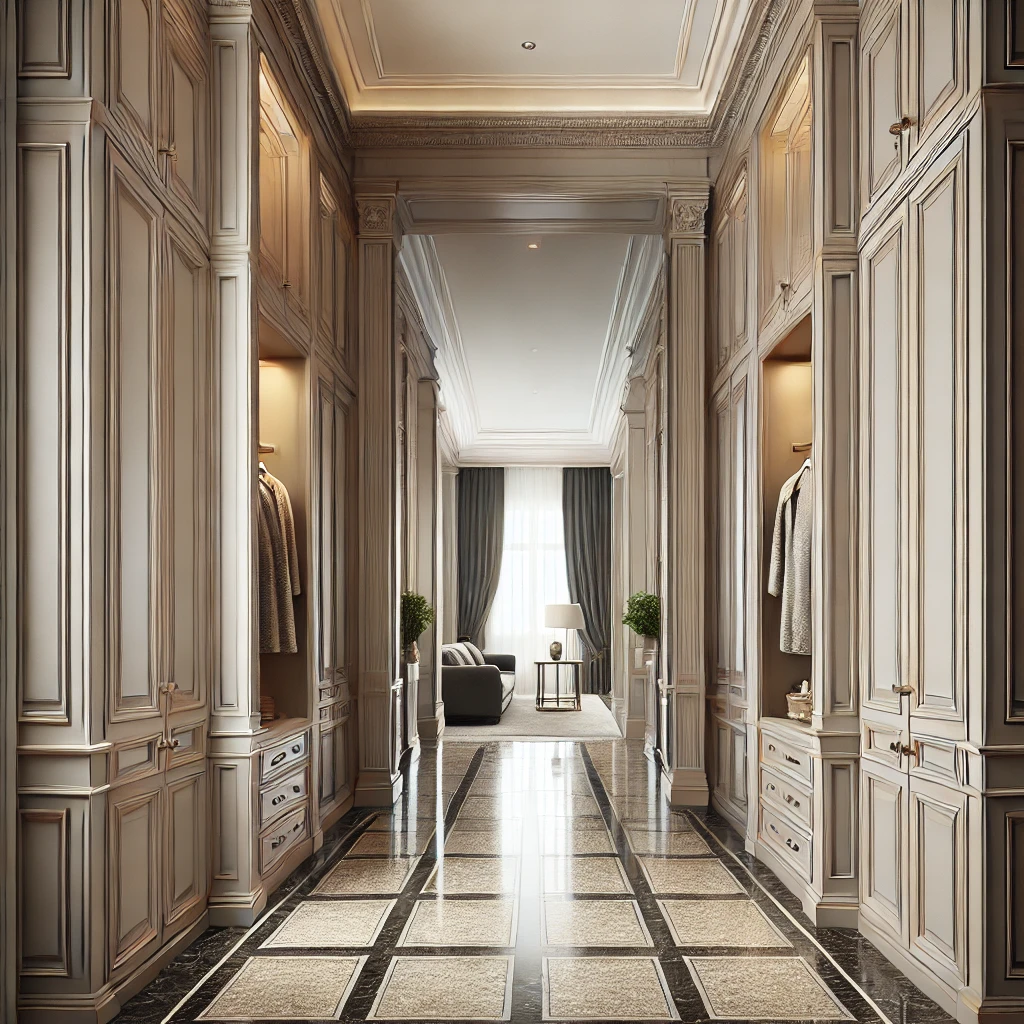
Classic Interior with Modern Accents: A Perfect Fusion
 May 9, 2025
 -
Microtrends: The Denim Boom in Interior Design
 May 9, 2025
 -
7 Alternatives to Wood Slats for a Fresh, Modern Interior
 May 9, 2025
 -
How and Why to Use Concrete in Your Bedroom Interior
 May 9, 2025
 -
How to Create a Loft-Style Ambiance in Your Apartment
 May 9, 2025